How to Restore a Rusty Chassis: Strip, Repair, Paint and Protect
A chassis is the backbone of a classic car, Land Rover, 4×4 or van, and it’s usually the part that has had the hardest life. Decades of salted roads, mud packed into the rails and water trapped in the box sections take their toll, often from the inside out. Restoring one properly means doing it in the right order: assess, strip, repair, prime, paint, then seal and wax inside and out. Skip a stage, and the rust comes back. This guide walks through each stage with the Rustbuster products for it.
Stage 1: Assess the chassis
Clean the chassis enough to see it properly, then go over every section with a hammer and a sharp screwdriver. Sound steel rings; rotten steel thuds, flakes or lets the screwdriver through. Pay closest attention to the known rust traps:
- the rear crossmember and outriggers, which catch spray from the wheels
- spring hangers, shackle mounts and suspension brackets
- body mounts, where the body and chassis trap water and dirt between them
- the bottoms of the chassis rails, where water inside the box section collects
- around old repairs and welded patches, which often rust again at the edges
Then decide how far you’re going. The approach depends on whether the chassis stays under the vehicle or comes out bare.
| Rolling chassis (body on) | Bare chassis (body off) | |
|---|---|---|
| Best for | Sound chassis with surface rust; protecting a daily-use vehicle | Full restorations, or chassis needing major repairs |
| Preparation | Degrease, remove salt, wire brush, convert remaining rust with FE-123 | Blast or chemically strip to bare metal |
| Primer | None needed: Epoxy Mastic grips wire-brushed steel | Zinc Rich Epoxy-Anode or Custom Epoxy Primer |
| Paint | Epoxy Mastic, two coats | Epoxy Mastic, or your chosen topcoat over the primer |
| Wax | Cavity wax inside the rails, underbody wax outside | Cavity wax inside the rails, clear or lanolin wax outside |
If the chassis is sound and you just want to protect it on the vehicle, our 10 steps to complete rust protection covers the rolling-chassis route in detail. The rest of this guide focuses on a full restoration.
Stage 2: Strip and clean
Start by degreasing: years of oil and road film will stop every later product from working. Tank-Kleen SP10 is a caustic industrial degreaser that cuts heavy grease and carbon; dilute it 1:4, scrub until it foams, leave 5–60 minutes and rinse off. Then choose how to strip.
| Method | Use it for | Notes |
|---|---|---|
| Shot or grit blasting | A bare chassis, back to clean metal all over | The quickest way to clean steel; usually done by a blasting company. Prime the same day. |
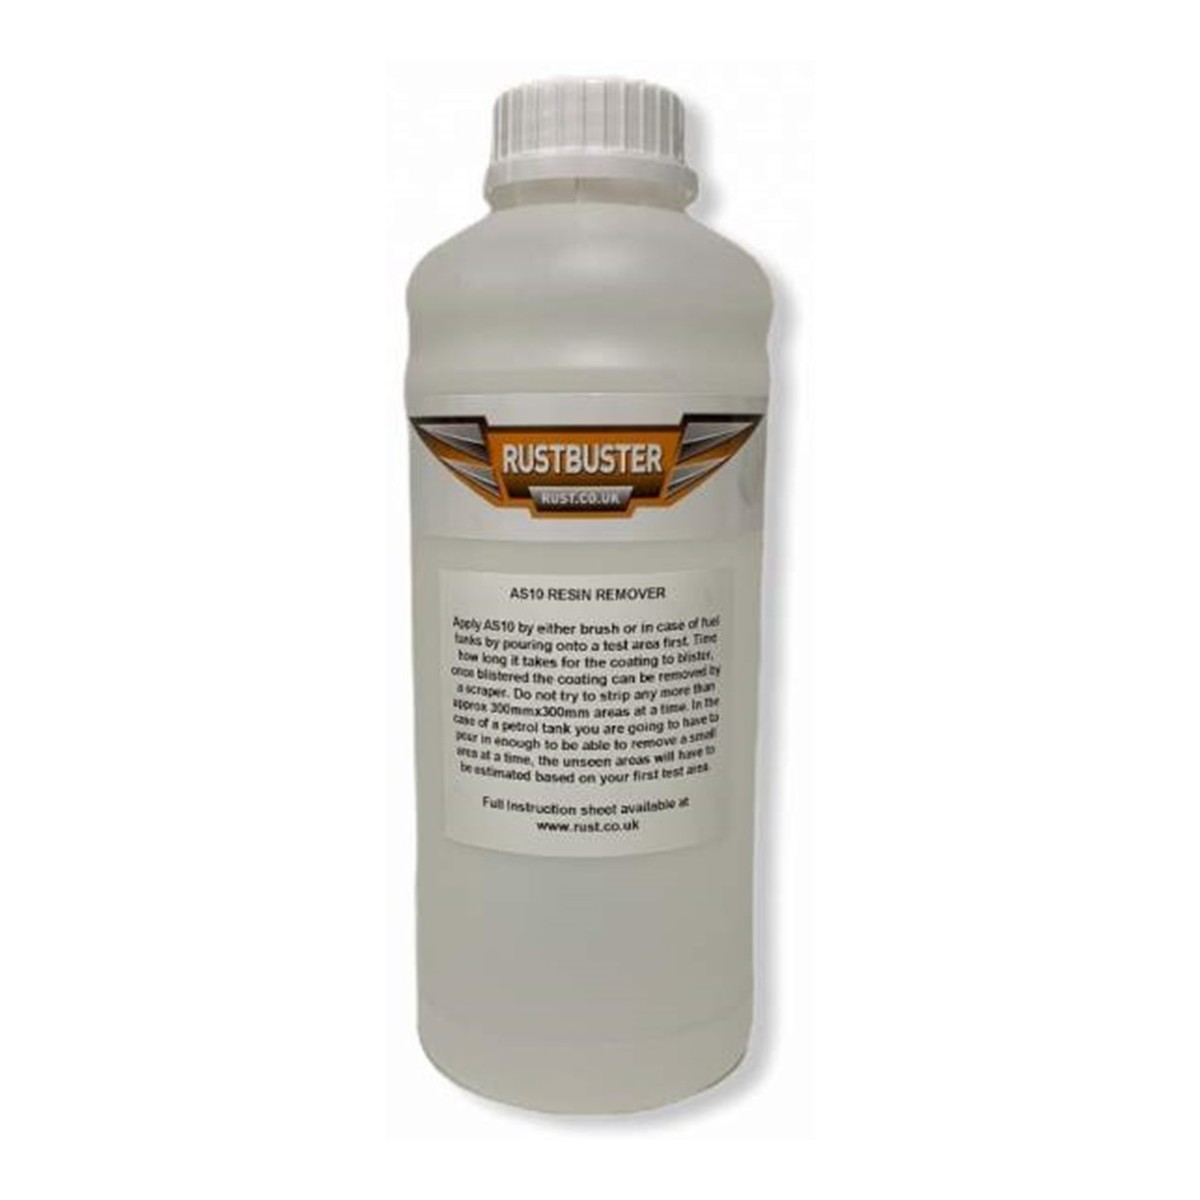
| R10/B1 Paint Stripper | Old paint on areas you’d rather not blast | Strips multiple layers, including 2K. Work in areas of about 300 × 300mm. See our paint stripper guide. |
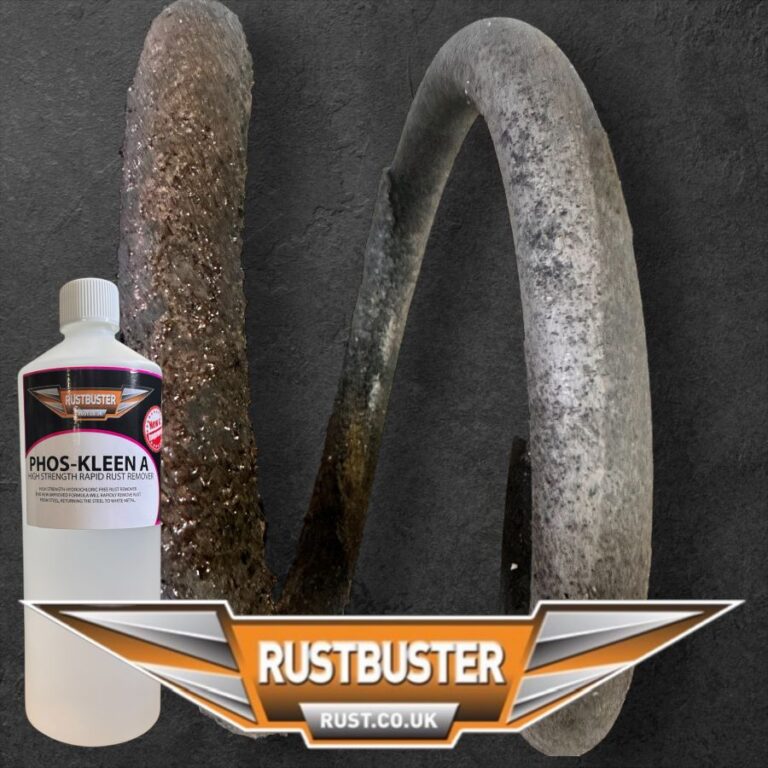
| Phos-Kleen A | Heavy rust and mill scale | A strong acid for industrial use that takes steel back to a white finish. Neutralise with Chlor-X or water. See our Phos-Kleen A guide. |
| Safer Rust Remover | Spring hangers, brackets, shackles and small parts | An acid-free dip for heavily pitted rust that won’t harm rubber or gaskets, so whole assemblies can go in. |
Get the salt out. A chassis that has spent years on Irish roads is full of salt, and salt crystals cling to steel even after blasting and power washing. Chlor-X Salt Remover gets behind the crystals and lifts them away. Use it at 100:1 in a power washer, or at about 500:1 in a wet blasting system. Paint over salt, and the rust comes straight back through. See how to remove salts.
Stop flash rust. Freshly stripped steel can turn orange within minutes of washing. Add Bor-X to your wash and rinse water at 0.25–2%, and the steel stays clean until it’s dry and ready to prime. See our Bor-X guide.
Stage 3: Repair
With the chassis stripped, you can see exactly what needs replacing. Cut out any rotten metal back to sound steel and weld in new sections or repair panels. Before welding lapped joints or plates, spray the mating faces with Techshield Zinc Rich Weldable Primer. It can be welded through, so the hidden faces between the two layers of steel get zinc protection that no paint could ever reach afterwards.
Stage 4: Prime
| Primer | Choose it when | Key facts |
|---|---|---|
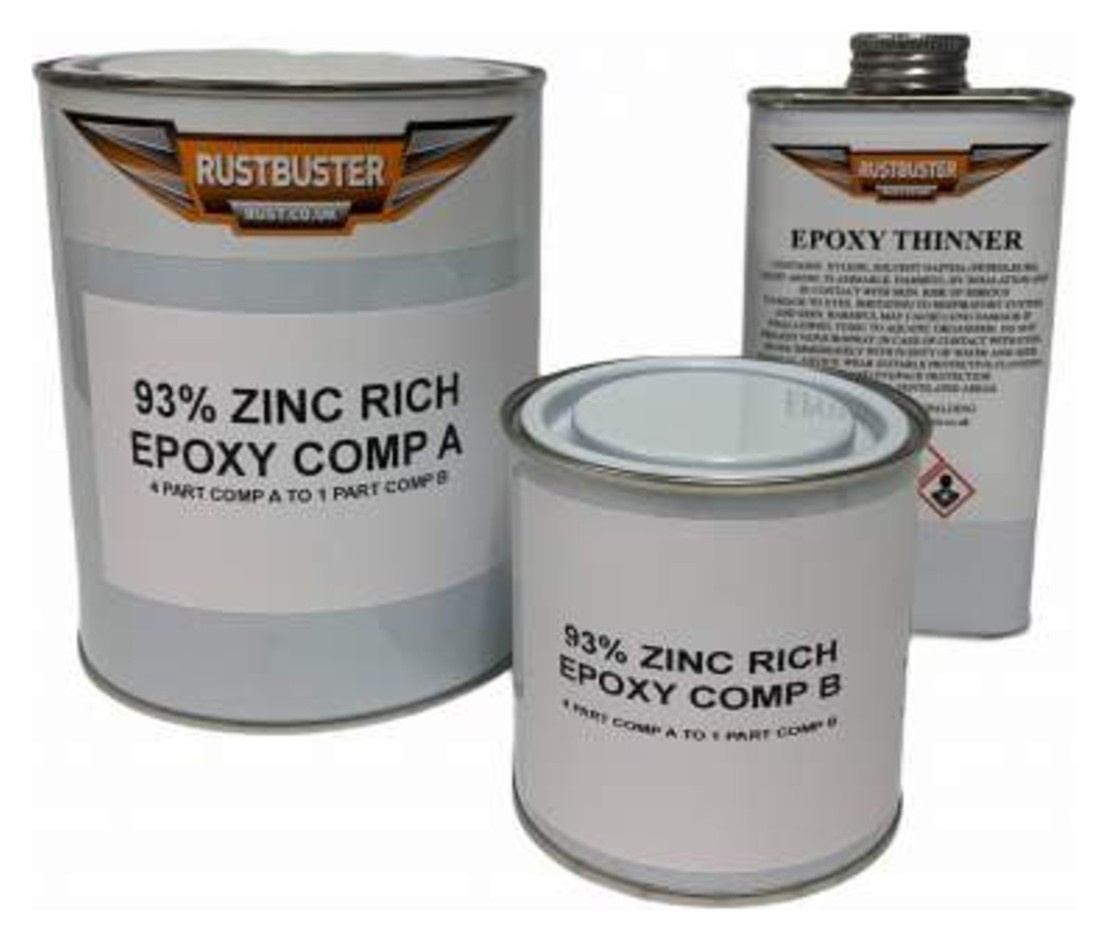
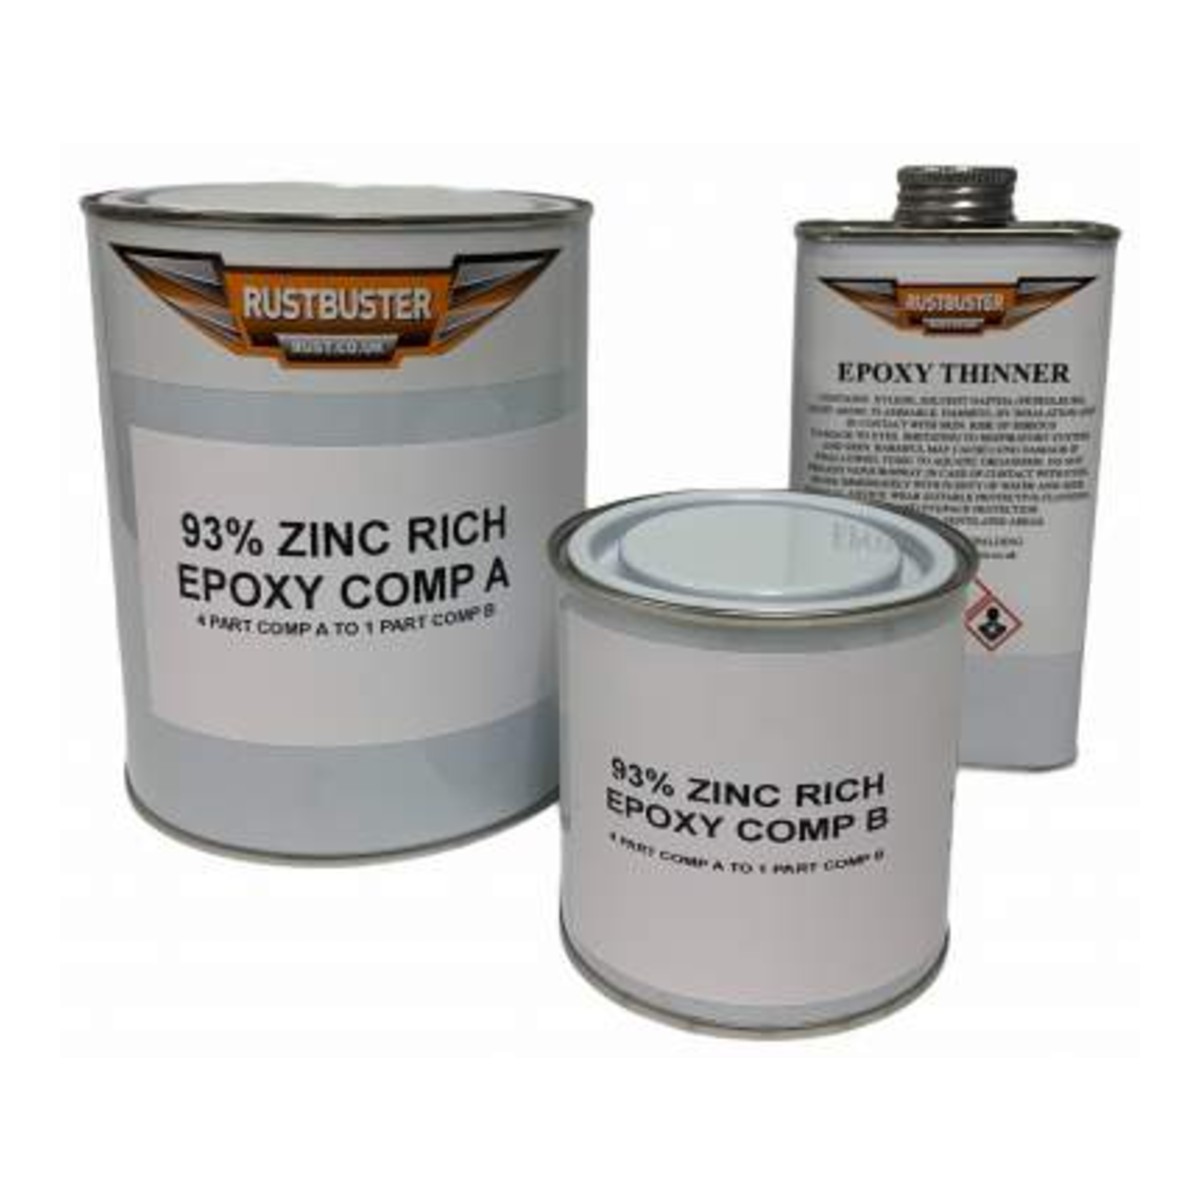
| Zinc Rich Epoxy-Anode | The chassis has been blasted or power-tool cleaned, and you want the best long-term protection | 93% zinc in an epoxy resin gives cathodic and barrier protection, so scratches that reach the steel self-heal. For steel prepared to St3. Mix 8.5:1.5, 2.5 hours pot life. |
| Custom Epoxy Primer | You want a smooth base under a topcoat colour of your choice | Two-pack epoxy that resists moisture absorption. Mix 3:1, 2.5 hours pot life; a 1.25L kit covers about 10m². Overpaint with 1K or 2K paint. |
| Epoxy Mastic | You want primer and finish in one, or the steel is wire-brushed rather than blasted | Grips wire-brushed steel with the performance of a coating over blast-cleaned metal. Mix 3:1, about 6.4m² per litre. |
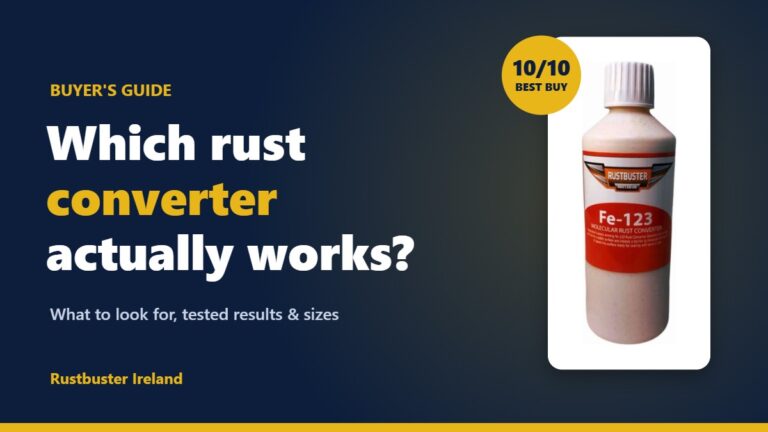
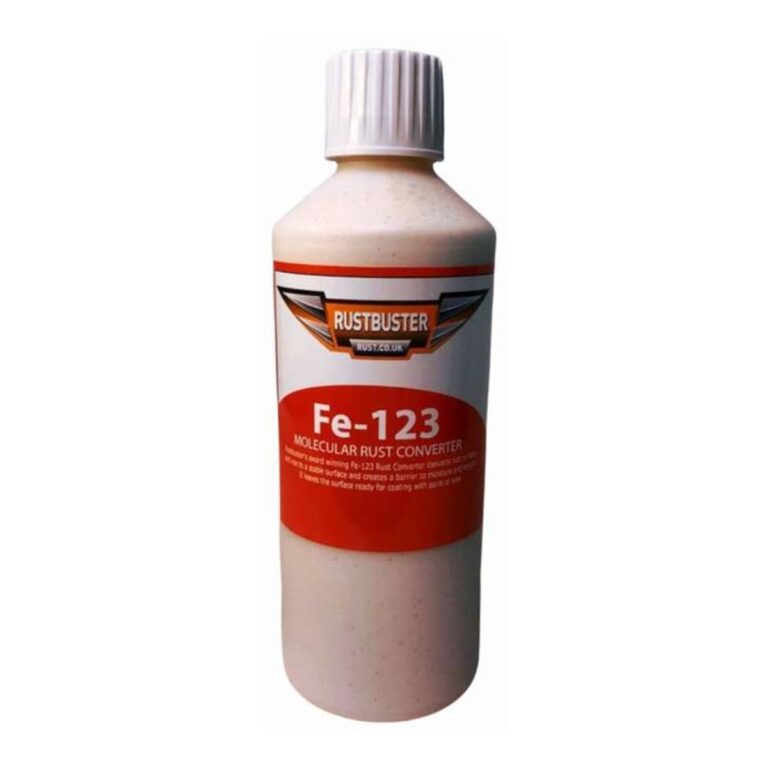
Zinc Rich Epoxy-Anode is fully compatible with Epoxy Mastic and Custom Epoxy Primer over the top. Where rust is left deep in pits or seams that you can’t clean out, treat it with FE-123 Rust Converter first: it turns purple, then black, in 15–60 minutes, and can be painted straight over. Don’t put zinc-rich primer over FE-123, as the converter’s barrier stops the zinc making contact with the steel. See our zinc-rich primer guide and Custom Epoxy Primer guide.
Stage 5: Paint
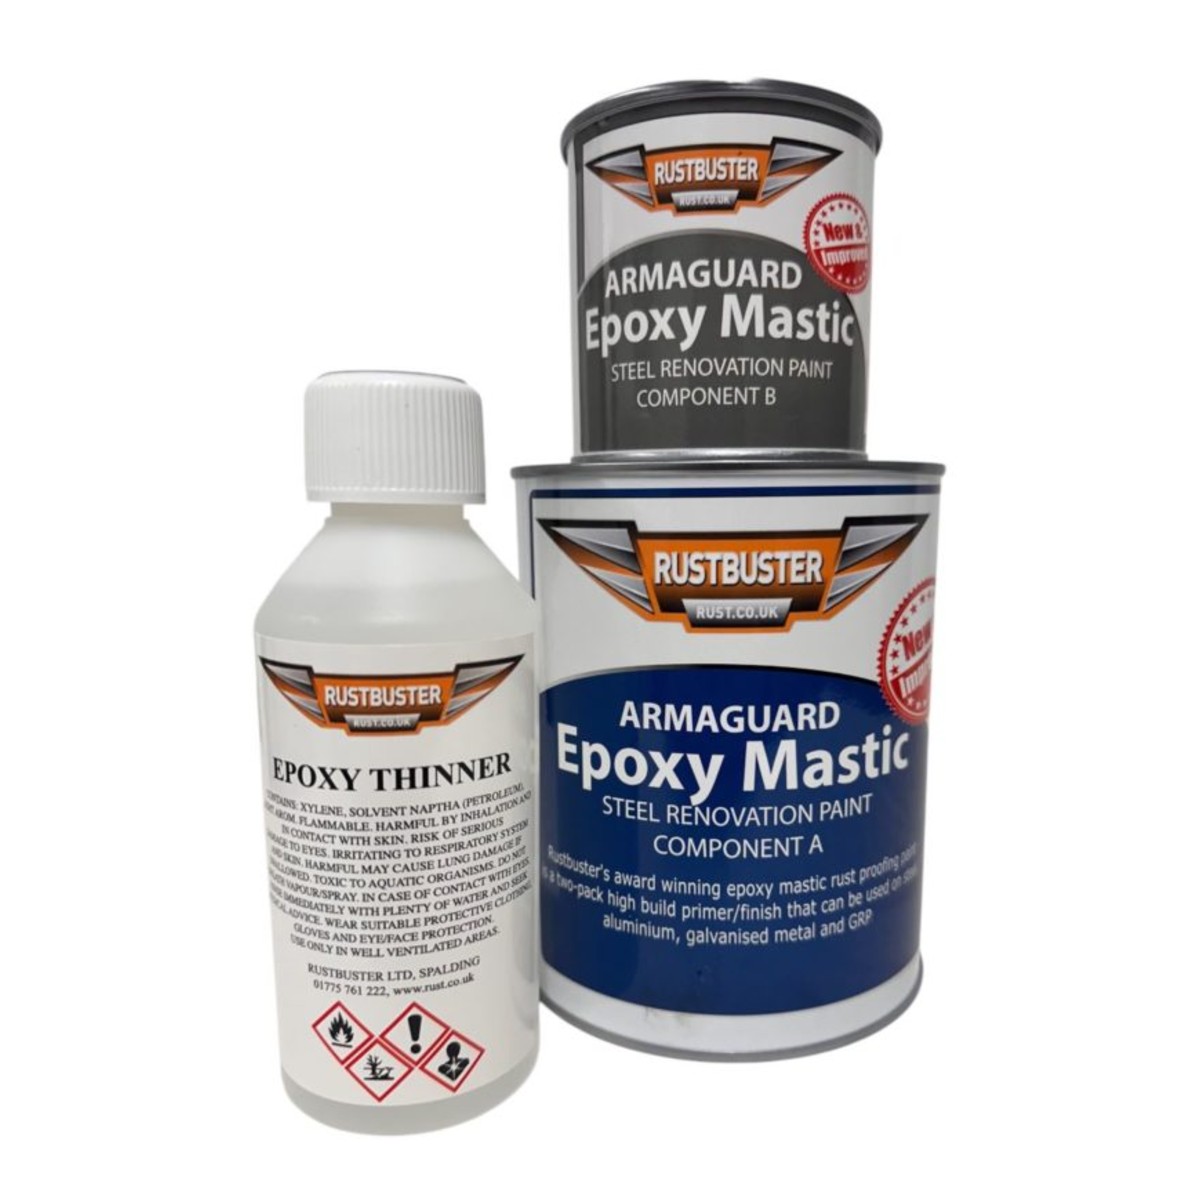
Armaguard Epoxy Mastic is Rustbuster’s award-winning two-pack rustproofing paint, and it makes an ideal chassis finish. It sets as hard as iron but flexes with the steel, won’t let moisture through, and resists oils, salt water and heat up to 200°C before discolouring. Brush or spray two high-build coats, working it into pits and seams; the second can go on any time after about 5 hours at 20°C. It comes in black and a range of greys, and can be over-painted with single- or two-pack paint if you want a particular colour or gloss. For small parts and brackets, Techshield Satin Black or Gloss Black aerosols over primer give a classic chassis-black finish. See how to use Epoxy Mastic.
- Check the dew point. Rustbuster primers and paints should go on steel at least 3°C above the dew point, or condensation will ruin the bond. A cold garage on a damp morning is a common culprit.
- Mind the pot life. Once mixed, Epoxy Mastic gives you about 90 minutes at 20°C, and the epoxy primers about 2.5 hours. Mix only what you can use.
- Use the right thinner. Thin Rustbuster epoxies only with the thinner supplied, 5–20% maximum. Standard thinner will affect the cure.
- Overcoat in the window. Epoxy Mastic can be recoated without sanding within the overcoat window; once it has fully cured (about 7 days), lightly abrade with P320 first.
Stage 6: Seal and protect against stones
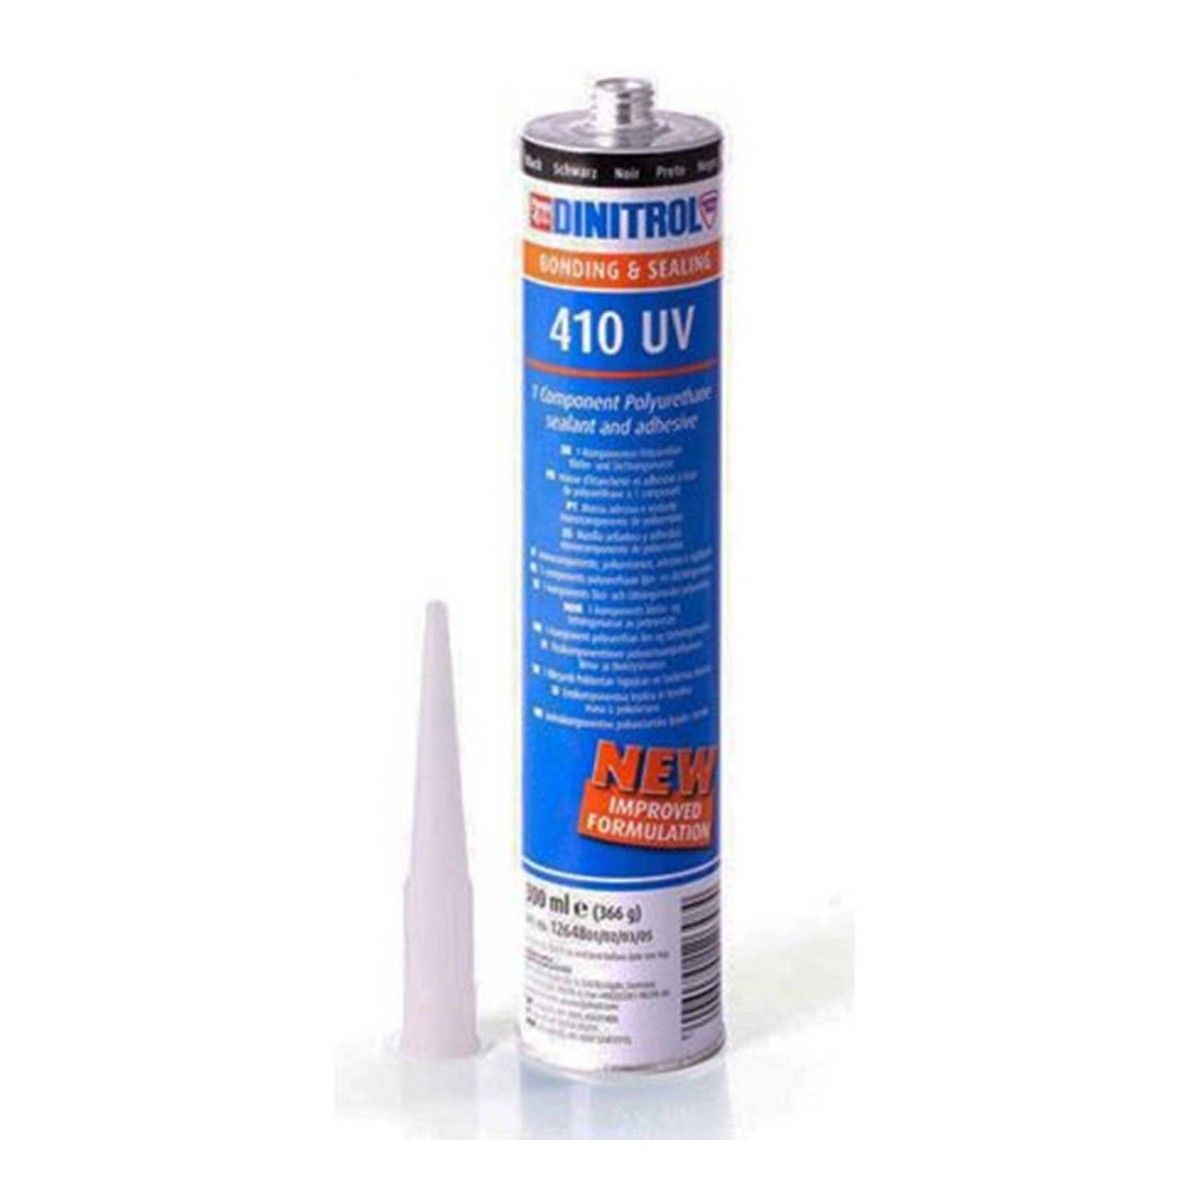
Run Dinitrol 410 UV seam sealer along lapped joints and welded seams so water can’t creep in between the layers. It’s an elastic, quick-drying polyurethane with good UV stability that can be painted over. On areas that take a pounding from stones, such as the front of the rear crossmember and behind the wheels, add Techshield Stonechip: a tough, elastic coating that can be over-painted, applied in at least two coats. See our stonechip and seam sealer guide.
Stage 7: Wax inside and out
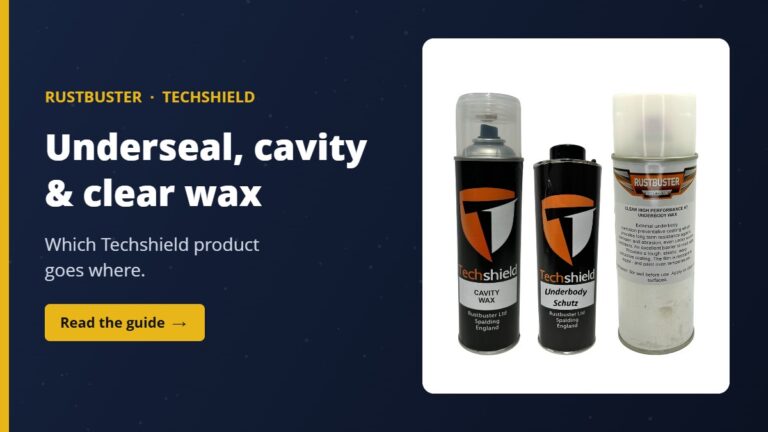
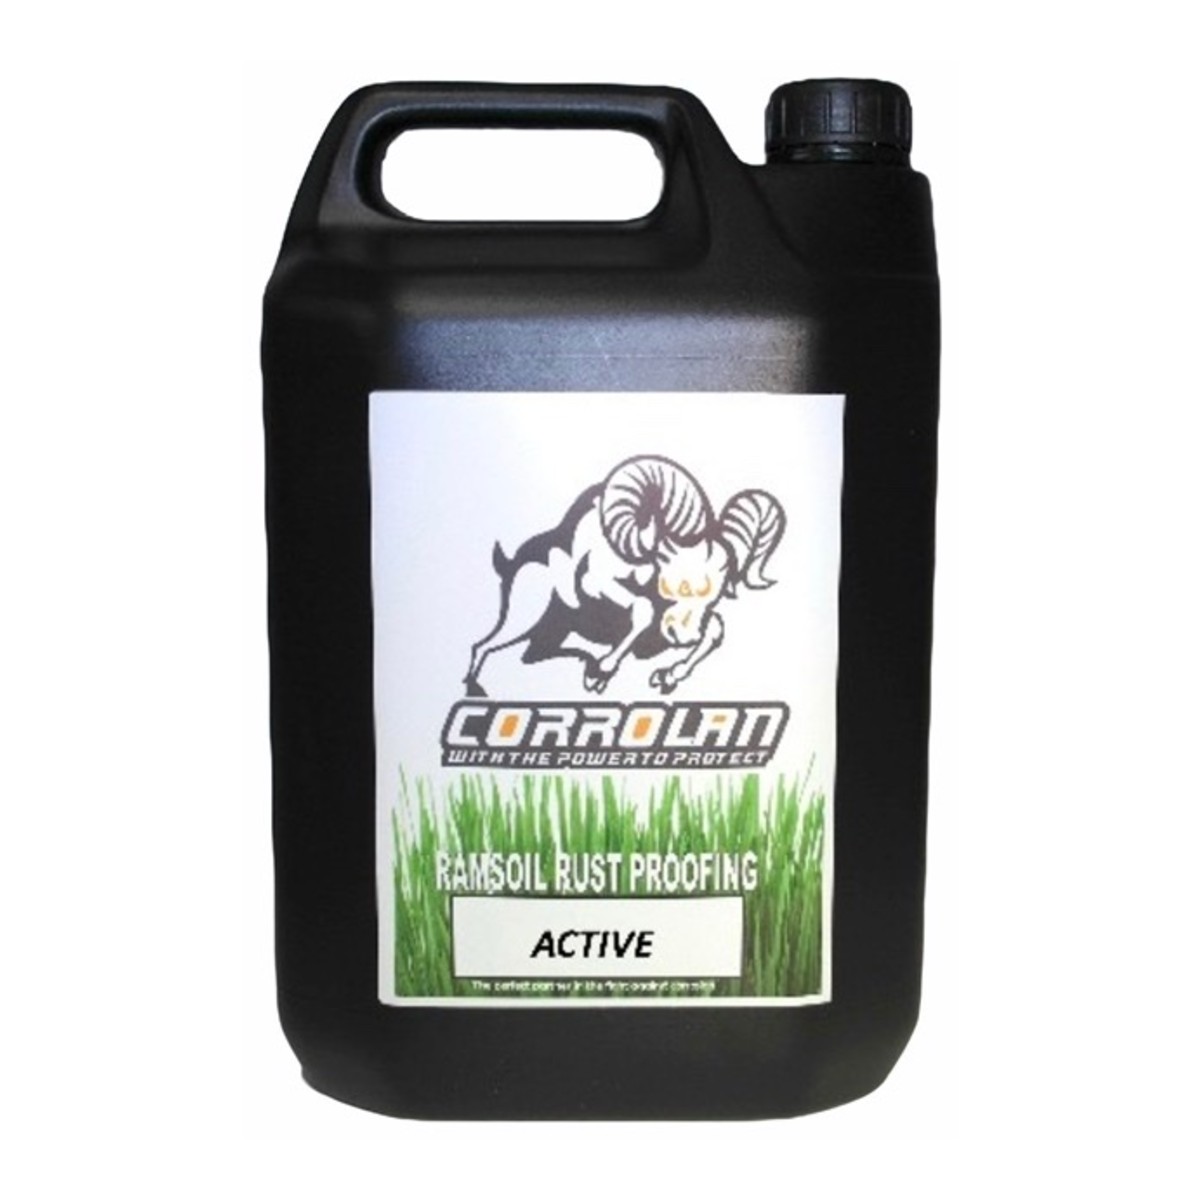
Paint can’t reach the inside of a box-section chassis, and that’s where most chassis rust starts. Once the paint has dried, inject the rails and crossmembers through their existing holes (or 10mm access holes, plugged afterwards) with a cavity wax injection gun and a long probe. Start with Corrolan Penetrator, a thin lanolin wax that creeps into seams and drives out trapped moisture, then follow with Corrolan Active, the self-healing cavity wax for box sections and chassis rails. Keep drain holes clear. See our cavity wax injection guide.
For the outside of a freshly painted chassis, choose a finish that suits how the vehicle is used:
| Finish | Best for |
|---|---|
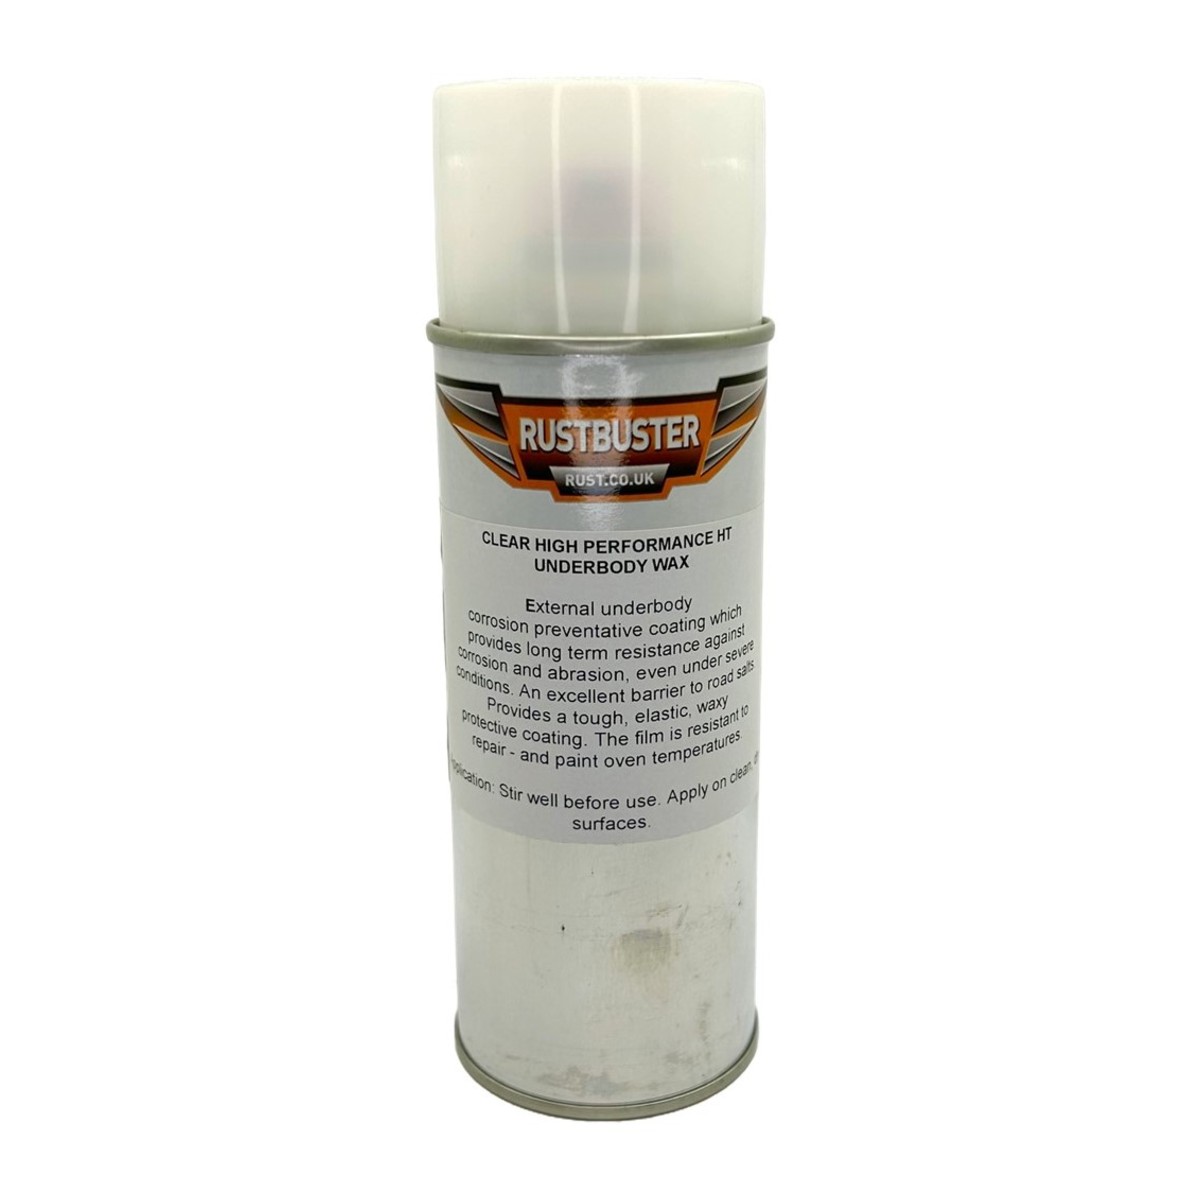
| Techshield High Performance Clear Wax | Show and restored chassis: a hard, dry, non-tacky clear film that lets you see the paint and welds, heat-resistant to 200°C |
| Corrolan Pure | Vehicles that get used: a soft, self-healing lanolin film that stays translucent so you can inspect the metal |
| Techshield Underbody Schutz | Working vehicles and off-roaders: a tough black bitumen coating for gravel protection, which can’t be over-painted |
After that, inspect the chassis every autumn before the roads are salted, touch in any chips, and top up the cavity wax. For a comparison of underbody waxes, see our Waxoyl alternatives guide.
Chassis restoration FAQs
How do you restore a rusty chassis?
Assess it with a hammer and screwdriver, then degrease, strip and remove salt with Chlor-X. Have rotten sections repaired by a competent welder, prime with a zinc-rich or epoxy primer, paint with Epoxy Mastic, seal the seams, and wax the inside of the rails with Corrolan cavity wax.
What is the best paint for a chassis?
Rustbuster Armaguard Epoxy Mastic. It’s a two-pack epoxy that sets hard yet flexes with the steel, won’t let moisture through, resists oils and salt water, and works as a primer and finish in one. It can also be over-painted if you want a particular colour.
Do I need to blast a chassis before painting?
Not necessarily. Epoxy Mastic grips wire-brushed steel with the performance of a coating over blast-cleaned metal, so a sound chassis can be restored on the vehicle. For a full body-off restoration, blasting to bare metal and priming with Zinc Rich Epoxy-Anode gives the best long-term protection.
What primer should I use on a blasted chassis?
Rustbuster Zinc Rich Epoxy-Anode, which has 93% zinc in an epoxy resin for cathodic and barrier protection, on steel prepared to St3. Prime the same day as blasting, and use Bor-X in any rinse water to stop flash rust.
How do I protect the inside of chassis rails?
Inject Corrolan Penetrator into the rails and crossmembers with a cavity wax gun and a long probe, then follow with Corrolan Active cavity wax. Keep the drain holes clear, and top up the wax every year.
Can I paint over rust on a chassis?
Not over loose rust. Remove flaking rust back to firm metal, then treat what’s left in pits and seams with FE-123 Rust Converter, which turns the rust into a stable, paintable surface. Paint over it with Epoxy Mastic.
More guides: 10 steps to complete rust protection, rustproofing trailers and farm machinery, rust remover vs rust converter and classic car oil guide.