How to Remove Salt and Prevent Coating Failures
Salt is the hidden killer of paintwork and restorations — invisible, easily missed, and a ticking time bomb under any new coating. This is how salt destroys a finish, and exactly how to remove it before you paint.
Why salt is the enemy of every restoration
At Rustbuster, salt removal is our soapbox — and for good reason. Salt is the mighty mouse of surface contamination, and the cost of removing it is nothing next to the cost of repairing the damage it causes. Always assume the surface is contaminated: salt gets everywhere, from the atmosphere and rain to contaminated blast media.
Here’s what it does if you leave it. A wet salt crystal trapped under your paint is the perfect little rust cell. It draws in moisture and forms a blister; on a warm, sunny day that blister pops to reveal a wet, rusty pit — and usually not just one, but several across the panel. If you’re unlucky it works the other way, corroding down through the steel until it pops out the back as a rust hole. Either way, a multi-surface primer won’t save you — the salt has to physically go.
The basic salt-removal wash
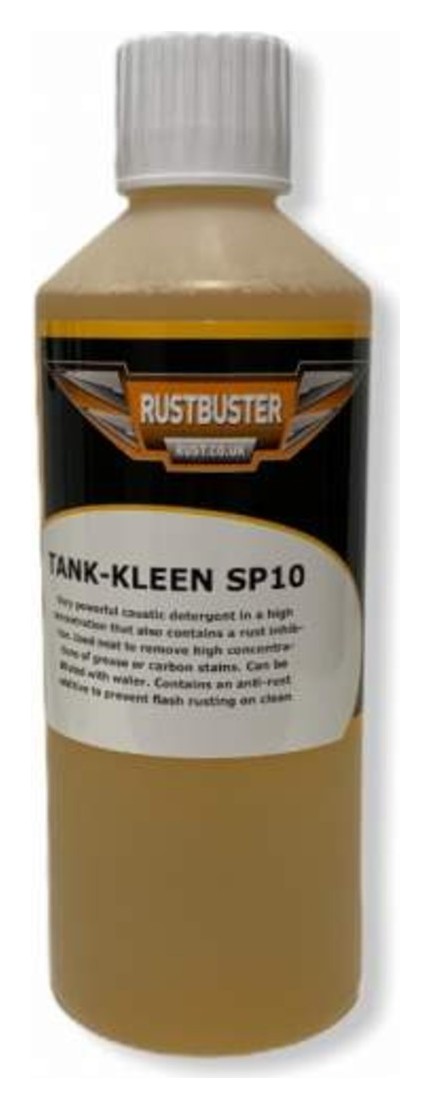
For most jobs, a two-stage wash does it. Start with a water-based detergent — Rustbuster SP10 pre-paint prep — to strip grease and grime, then follow with a wash of Chlor-X to lift the salts. For professional and industrial work you can go further and actually measure the surface salt levels to confirm the steel is clean before you coat.
Three ways to remove salt with Chlor-X
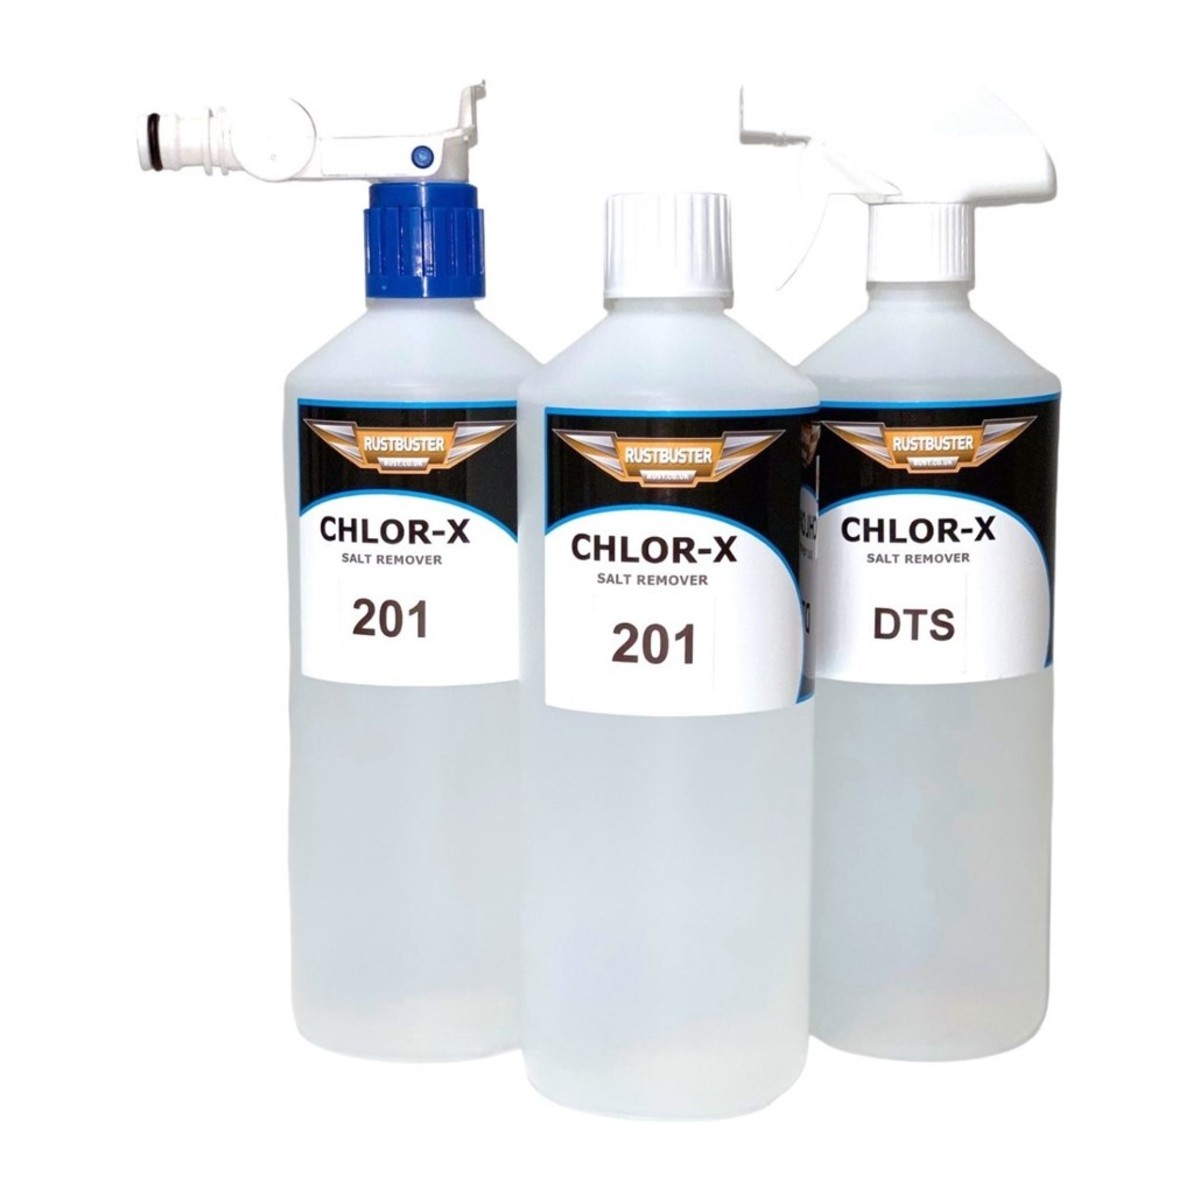
All three are formulations of the same Chlor-X salt remover — pick the one that suits your job:
Chlor-X DTS — ready to use
First wash the area down with Rustbuster Safer Degreaser. Then apply Chlor-X DTS straight from the bottle, leave it a few minutes to lift the salts, and hose off. The simplest option for smaller jobs.
Chlor-X 201 — hose-end applicator
Again, degrease first with Rustbuster Safer Degreaser. Attach the Chlor-X 201 bottle to a garden hose with a Hozelock-type fitting, set the mixer knob to maximum and hose down the steel — it meters the solution into the water automatically. Turn the knob to minimum for everyday car-wash cleaning.
Chlor-X 100 — concentrate
Mix one part Chlor-X 100 to ten parts Rustbuster Safer Degreaser, then add it to the dosing bottle on your pressure washer. Ideal for larger areas and regular use.
Already got blisters or coating failures?
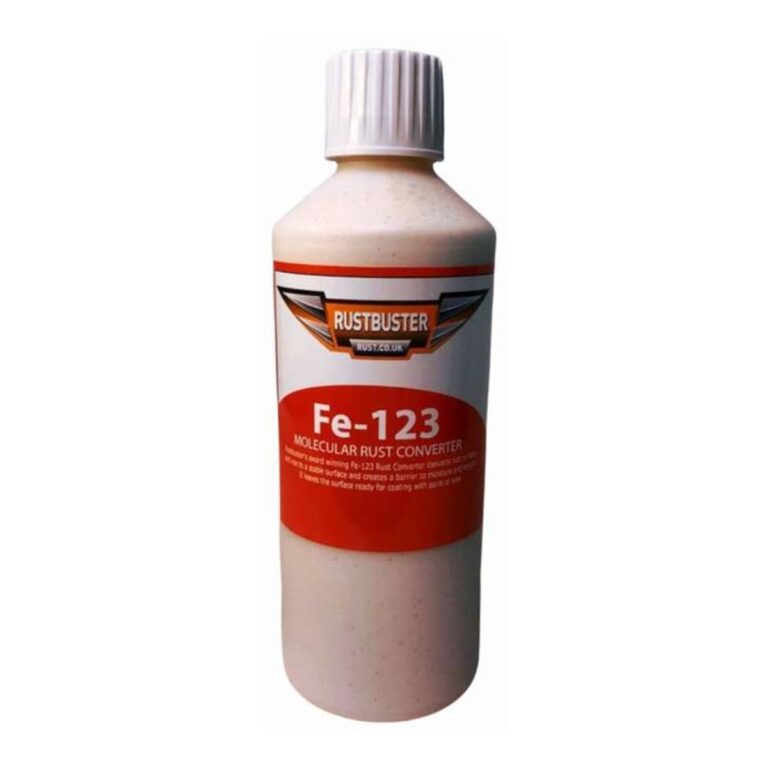
Spotted blisters, bubbling or flaking on an existing finish? That’s almost always salt at work beneath the coating — and it’s why painting straight over a failure never lasts. Strip the affected area back to bare steel, remove the salt properly using one of the methods above, treat any rust you find with FE-123 Rust Converter, then re-prime and paint. Deal with the cause, not just the symptom — our 10 steps to complete rust protection walks through the full job.
Salt removal FAQs
Why do I need to remove salt before painting?
Salt trapped under paint acts as a rust cell, pulling in moisture and forming blisters that pop into rusty pits — or corroding right through the steel from behind. No primer stops it, so the salt has to be washed off before you coat.
How do I know if a surface has salt on it?
You usually can’t see it, so assume every surface is contaminated — salt comes from the air, rain and even blast media. For professional work the soluble-salt level can be measured; for most jobs a proper wash with SP10 and Chlor-X is the answer.
What is the difference between Chlor-X DTS, 201 and 100?
They are three formulations of the same Chlor-X salt remover for different jobs: DTS is ready-to-use for smaller areas, 201 is a hose-end applicator, and 100 is a concentrate for power-washer dosing.
Will a good primer cover salt contamination?
No. A multi-surface or rust-converting primer won’t neutralise salt — it will blister and fail over time. The salt must be physically removed first; only then will your coating last.
Don’t let salt ruin your hard work. Give your steel the best possible start with the right salt remover and surface prep.