How to Convert Your Engine to Waterless Coolant
The short version: converting to waterless coolant is straightforward, but there is one rule that matters above all others — get all the water out first. Waterless coolant only works if the system is genuinely dry. Any water left behind dilutes it and undoes the benefit. That is what Hawk Prep Fluid is for.
Why the water has to go
Waterless coolant is defined by what is not in it. Leave a litre or two of old coolant trapped in the block or heater matrix and you have reintroduced the very thing you are trying to remove — the boiling, the corrosion, the cavitation all creep back in proportion to how much water remains. Draining alone never gets it all out, because water clings to every passage and pocket. That is why the prep step is not optional.
What you will need
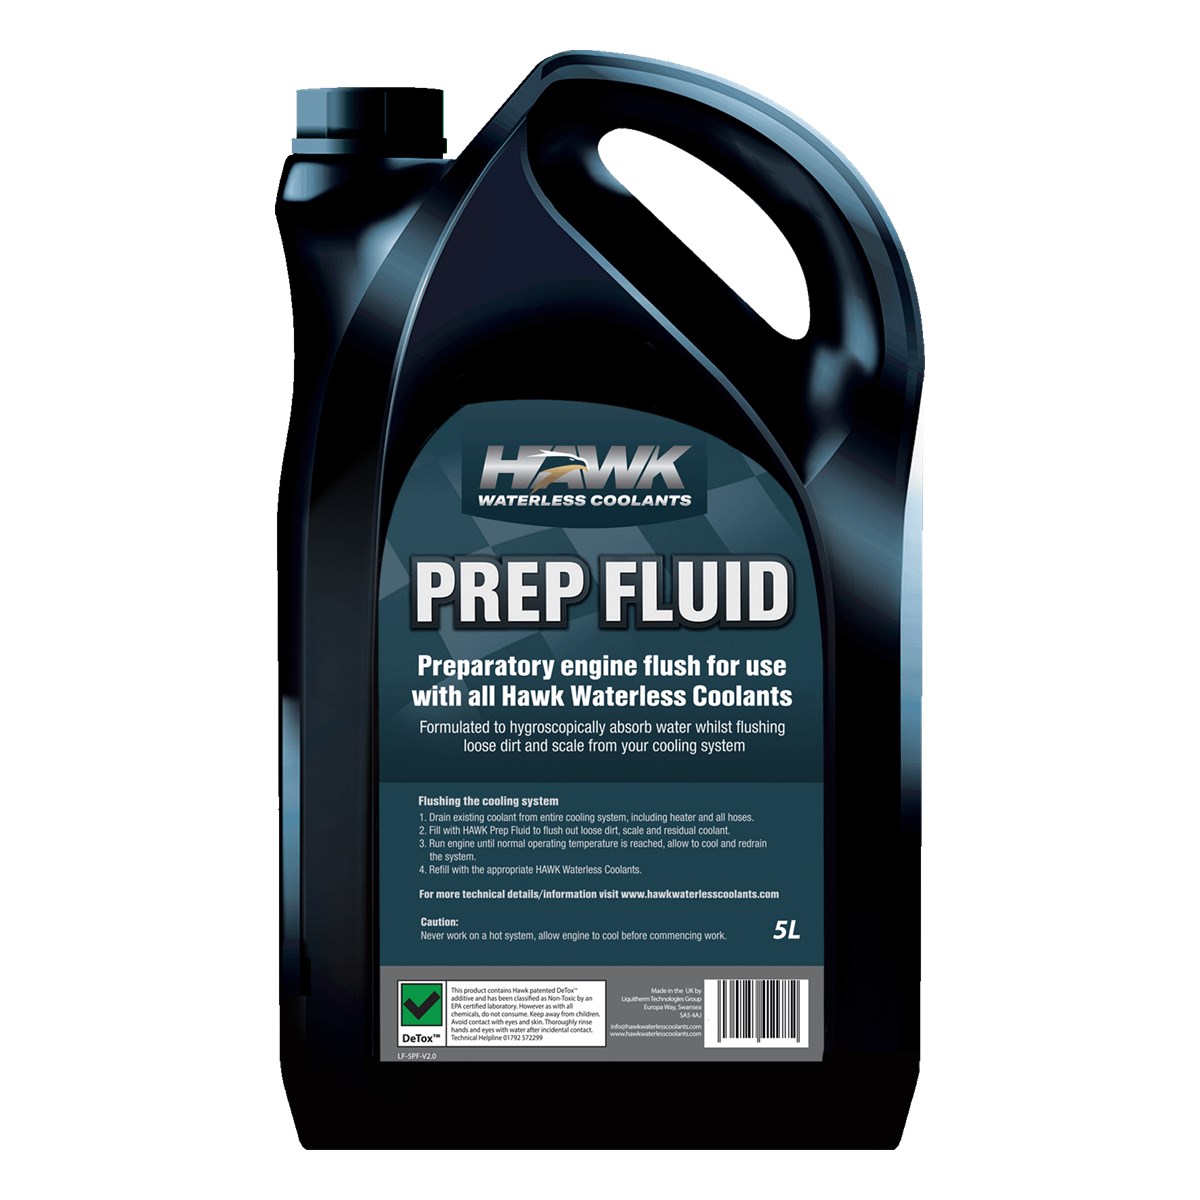
- Hawk Prep Fluid — to chase out the last of the water
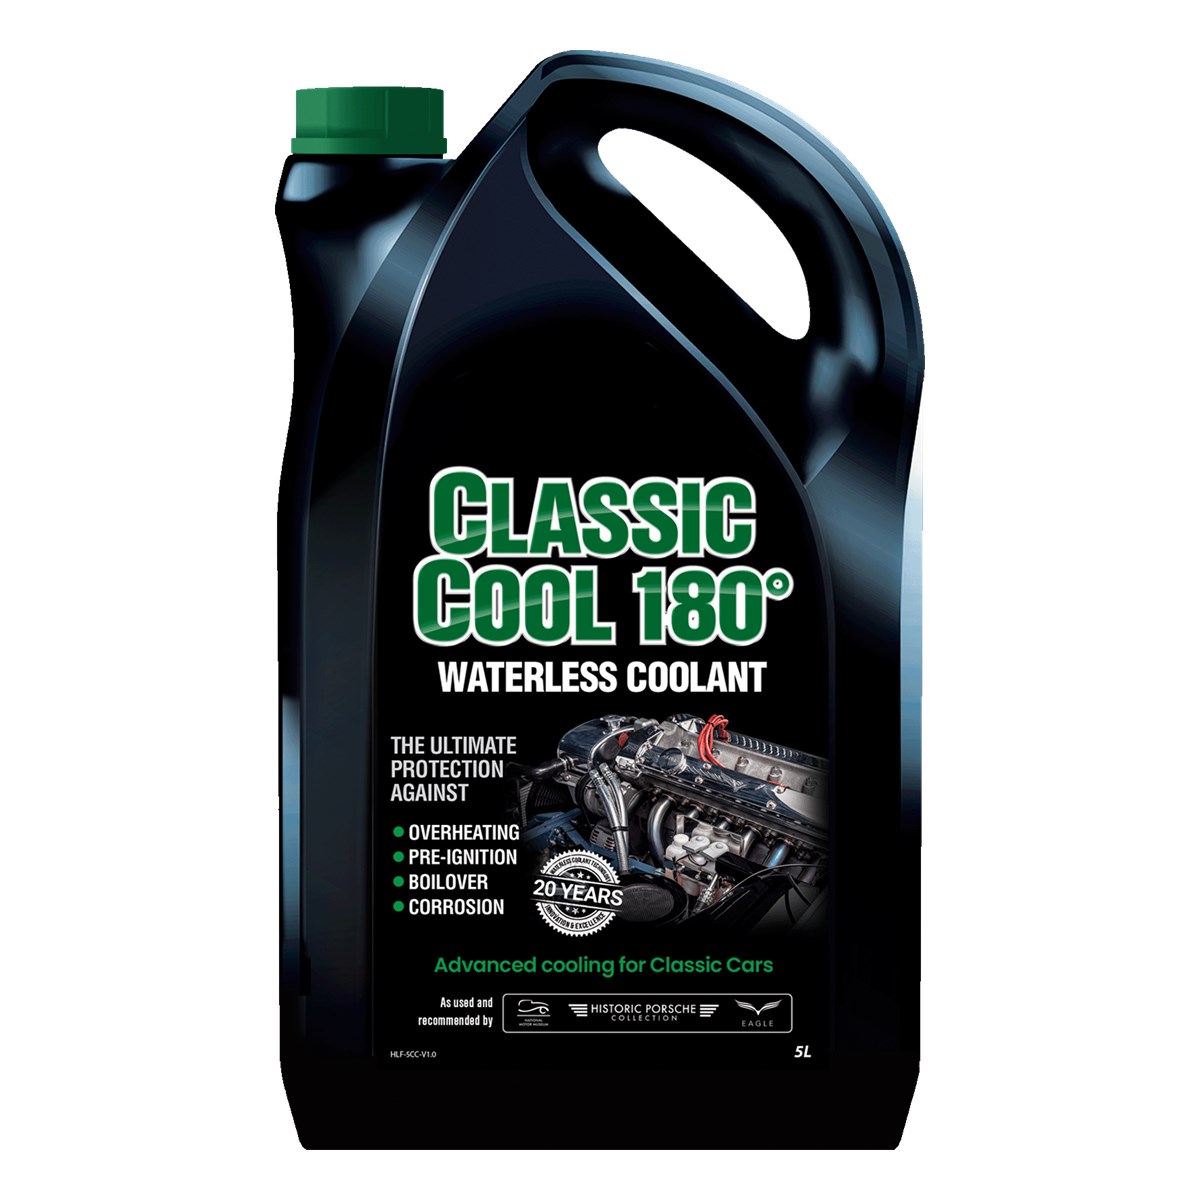
- The right Hawk waterless coolant for your engine (see our which-coolant guide)
- A clean container for the old coolant, and somewhere to dispose of it properly
- A moisture meter if you want to be exact — optional, but the sure way to know the system is dry
A rough guide to volume: most classic cars hold somewhere between 5 and 12 litres. It is worth knowing your engine’s capacity before you start so you order enough.
The conversion, step by step
1. Drain the old coolant
With the engine cold, drain the radiator and the block completely — both drain points if the engine has them. Old antifreeze is toxic to animals, so catch it all and dispose of it responsibly.
2. Flush with Prep Fluid
Fill the system with Hawk Prep Fluid, then run the engine up to temperature with the heater on full so the fluid reaches every corner, including the heater matrix. This is the step that pulls the residual water out of the parts a drain cannot reach.
3. Drain the Prep Fluid
Let it cool, then drain the Prep Fluid out as thoroughly as you can. The more you get out here, the drier the system, and the better the result. If you have a moisture meter, check the fluid coming out — you want it reading as dry as you can get it.
4. Fill with Hawk waterless coolant
Fill slowly with your chosen Hawk coolant, working the air out as you go — squeeze hoses, use any bleed points, and let it settle. Waterless coolant is a little thicker than water, so it takes slightly longer to find its level. Run the engine, watch the temperature and top up as the air works its way out.
5. That is it — for good
Once it is in and bled, you are done. Waterless coolant does not need changing on a schedule the way water-based coolant does; it is a fill-for-life fluid. Keep an eye on the level as you would with anything, but there is no annual flush to think about.
A few tips from the workshop
- Do the conversion on a system that is already sound. Fix any weeping hoses or a tired water pump first — waterless coolant will not paper over a leak.
- Keep any leftover coolant. Because the system runs sealed and does not boil off, you will rarely need it, but it is handy for topping up after future work.
- If you would rather not do the flush yourself, that is exactly the kind of job our own workshop handles — give us a ring.
Everything in the Hawk range is held in Irish stock here at Liquid Technology in Co. Wexford — no customs, no delays. See the full Hawk range, or ring us on 089 448 6626 if you are not sure which one you need.
Frequently asked questions
Do I need Hawk Prep Fluid to convert?
Yes. Draining never gets all the water out, and any left behind dilutes the waterless coolant and brings back boiling and corrosion. Prep Fluid flushes out the residual water. The only exception is a brand new engine build with a new radiator.
How much waterless coolant do I need?
Most classic cars hold between 5 and 12 litres. Check your engine’s cooling system capacity before you start so you order enough.
Can I just drain the old coolant and refill with waterless?
No. Water clings to every passage and pocket, so draining alone leaves some behind. Flush with Prep Fluid, drain it thoroughly, then fill with Hawk waterless coolant.
Can I mix Hawk and Evans waterless coolant?
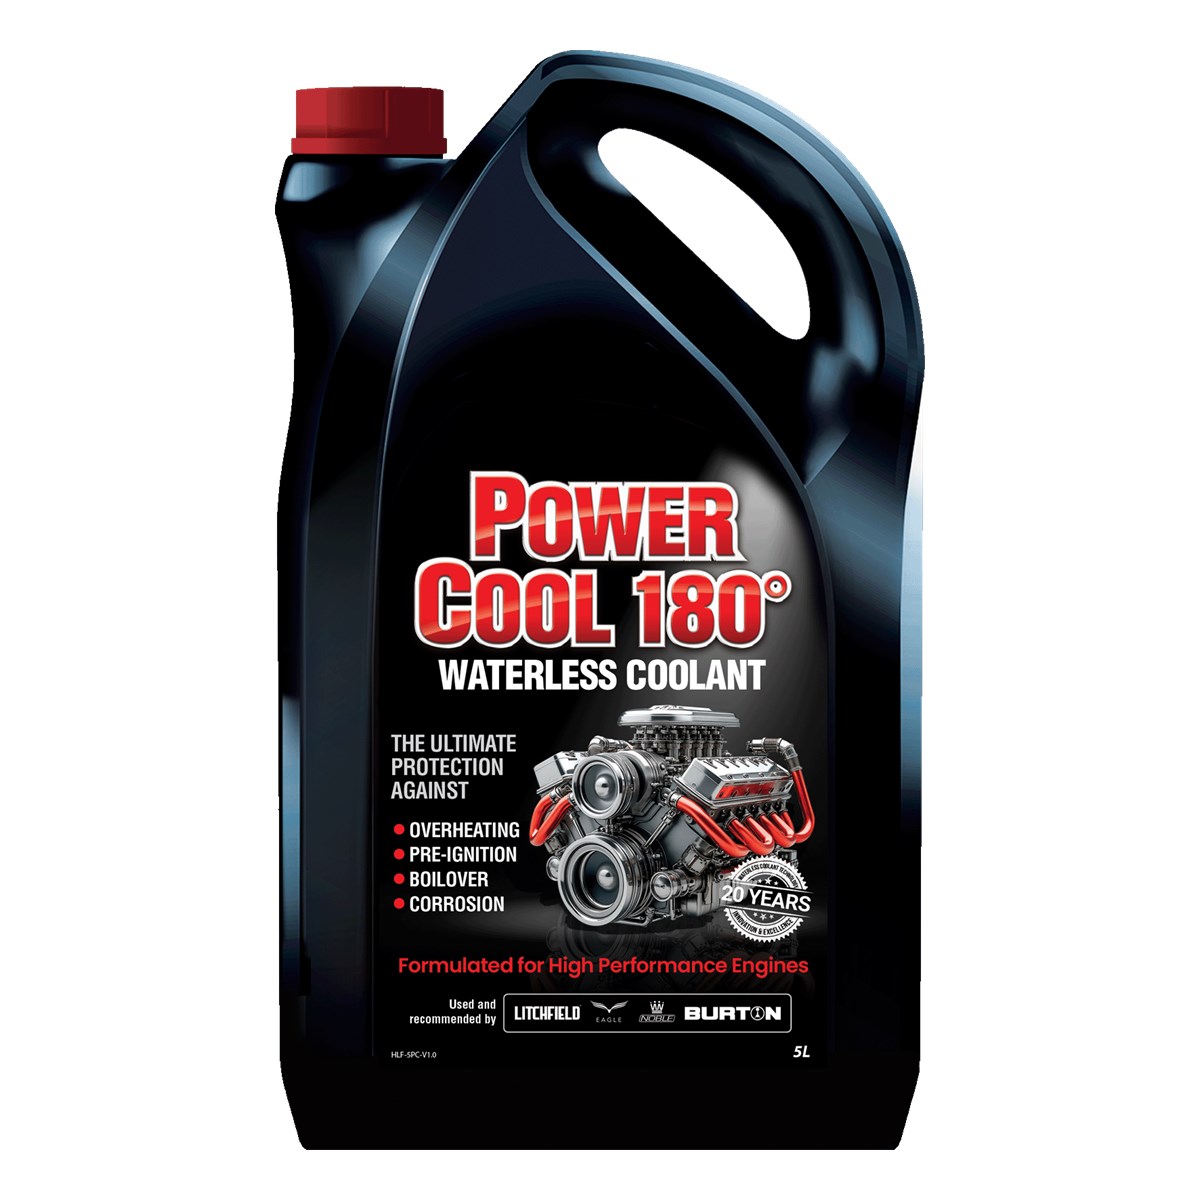
Yes. Hawk is the new name for Evans: same manufacturer, same formulations. Topping up or mixing between the two is not an issue.